Getting Started with Flyers
In order to create your first classified ad or "flyer", first click on the
FLYERS tab located in the top navigation bar.
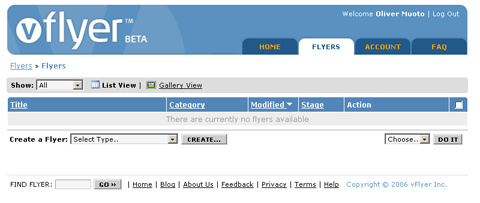
The flyer listing page presents you with a list of previously created flyers. When visiting this page for the first time, the list will be empty.
Creating A Flyer
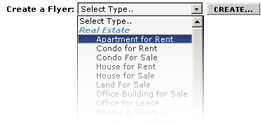
To create a flyer, simply select the desired product category from the drop down menu located below the list of flyers. There are over 40 available product categories to choose from.
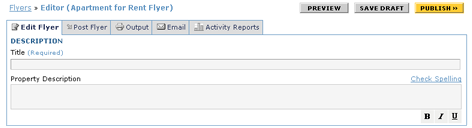
FILL OUT FLYER INFORMATION
Start by filling out the
Title (which is required) and the
Description. You can make text in the description bold, italics or underline using the formatting icons

located below the
Property description text field
(bold, italics and underline formats are not currently supported in Safari browser).
Next enter any of the
Features and
Attributes associated with your product or service. Although none of these fields are required, flyers that contain adequate and accurate information increase the likelihood of finding a buyer for your item.
The
Features will vary based on the product category you are creating a flyer for. If you feel a field in the
Features section is missing, simply click the
Add Field button located at the bottom of the section to create a new custom field.

Creating Custom Feature Fields
Clicking on the
Add Field button allows you to enter the
Label name and type for a custom field.

Once you have entered the requested information, click
Add to have the field added to your form. When you create a new flyer in the same product category, vFlyer is smart enough to include previously created custom fields.

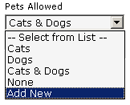
Once created, a custom field can be removed by simply click the

icon located next to the custom field. You can also add custom options to drop down menus by select the
Add New option in any drop down menu on the page.
Entering Attribute Information
You can enter attribute information by simply clicking on all the checkbox that apply to your item. You can add custom attributes in the same way you can add custom fields. Simply click the
Add Attribute button at the bottom of the attribute section you wish to add your new attribute in and enter an attribute name.
Note: To remove a previously created custom attribute, simply uncheck the attribute and
Save the flyer.

Saving your Flyer
It is always a good idea to save your flyer even if you are still in the process of entering all the information. Saving your flyer regularly ensures that you don't lose any data if you leave your computer unattended for over 30 minutes or if you mistakenly close your browser window. You can save the flyer at any time by simply the clicking on the Save button located in the upper right hand side of the page.

Entering Pricing Information
Enter pricing information for your item, if necessary add custom fields or drop down menu items.
Entering CONTACT INFORMATION
Next enter your contact information. You can choose to show all your contact information on the flyer or use the
Contact Reply Form. If you choose to use the Contact Reply Form, prospects will be asked to enter their name, email, phone and message and this information will be forwarded to you at the email address you specify. Your actual email address will not be shown on the form.
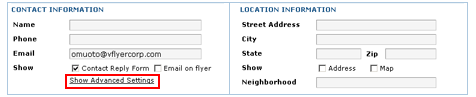
You can also choose to include your photograph, company logo and any association membership on your flyer. To do so simply click the
Show Advanced Settings link. This link will open the
Advance Settings section and allow you to select (if you have already entered them in your
Accounts - Photo and Logo Settings) or upload these images.

Clicking the
Add Photo, Add Logo or Add
Assoc Logo links will take you to a new page that allows you to upload these images.
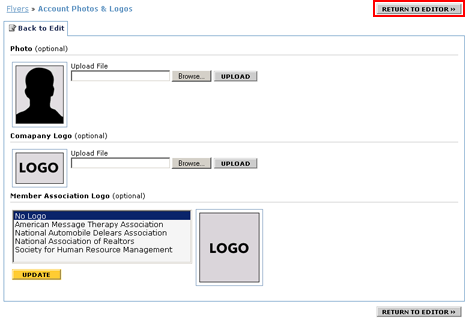
Once you have finished uploading the images, click the
Return to Editor button to return to the flyer editor.
ENTERING LOCATION INFORMATION
When entering the location of your item, you can choose to display the address or a link to a map of the address, or both on your flyer.
Uploading Photographs
Most flyers contain one or more photographs of the item you are trying to sell or rent. vFlyer supports as many as 25 individual photographs in the photo gallery. To upload a photography, simply click the
Add Main Photo or
Setup Photo Gallery buttons. You will be taken to a new page that allows you to upload your photos.
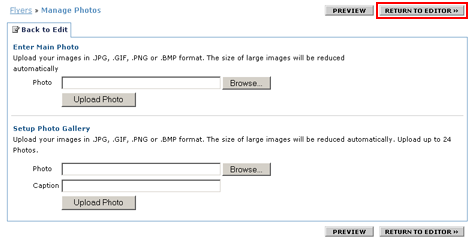
When done you can click the
Return to Editor button to return to the flyer editor or
Preview to preview your current flyer.
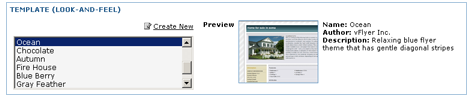
SelectING a look and feel template
vFlyer supports both standard and custom look and feel templates that give your flyer a professional and/or distinct look and feel. You will find a list of all currently available templates in the Template section. To select one, simply click on it and thumbnail of the template will appear on the right.
Previewing your Flyer
You can preview your flyer at any time by simply clicking on the
Preview button at the top right hand corner of the page.

Clicking on the
Preview button will navigate you to the Preview mode.
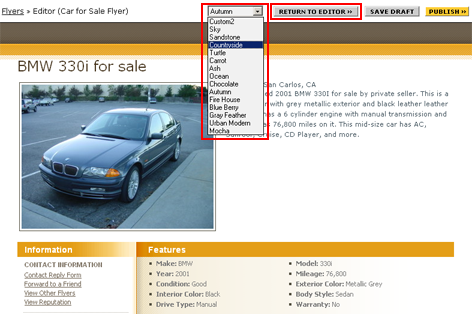
Once in Preview mode you can change the look-and-feel template by simply selecting from the list of available templates in the drop down menu at the to of page. You can choose to
Return to the Editor and continue,
Save Draft or
Publish your flyer.
Adding external links
The
Links section allows you to add
custom links to your flyer. Click the
Add Link button to add a new custom link. When done, click the
Add button to complete the process.

These links will appear in the left column on your flyer under the
Location section of the published flyer. You can preview custom links in Preview mode.

entering expiration and submission settings
Before your flyer entry process is complete, one very important step is necessary. You will need to decide if you want to have you flyer expire after a certain date (leave this field empty if you don't want it to expire) and which
online classified ad marketplaces you wish to automatically publish your flyer into. The list of available marketplaces will vary based on the product category.

Publishing your flyer
You are almost done. Now you will need to publish your flyer. To do so, click the Publish button.

Once published, your flyer will automatically be posted into marketplaces you selected in your settings. You will also be able to copy and paste the HTML for vFlyer to other classified ad or auction site (such as eBay or LiveDeal), in your blog or on many other services that accepts HTML input.
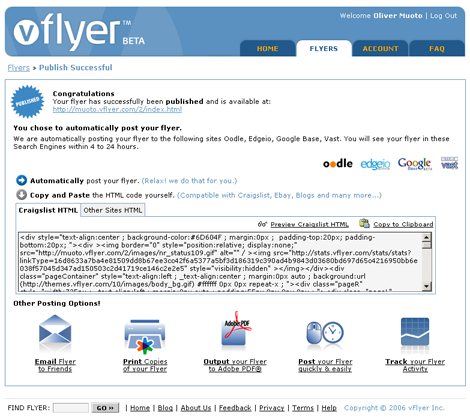
You can also choose to email, print or track activity associated with your flyer from this page.
Editing a published flyer
To edit your flyer, you must first return to the list of available flyers. Simply click on the
Flyers tab to do so.
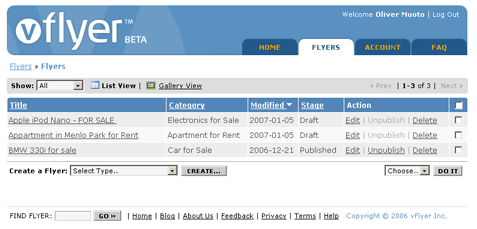
From the
Actions column you will be able to
Edit,
Publish (if not yet published),
Unpublish (if published) and
Delete any previously created flyer. Click the
Edit link or the title of a flyer in order to edit it.
Once in
Edit mode you will be able to change any of the information on your vflyer,
Save the result and then
Re-Publish your flyer.
Note: None of the changes made to your flyer will take effect until you
Re-Publish the flyer.
Accessing the HTML for your flyer
You can access the HTML for your flyer by click on the
Post Flyer inner tab while in the
Edit mode. Currently two version of the HTML code exist: a Classified Ad version and a general version. The
Classified Ad HTML complies with the terms and conditions of the many classified ad service and can be posted on the Craigslist site. The general or
Other Sites HTML version is much richer and can be posted on other classified ad or auction marketplaces, blogs or other websites that accept HTML.
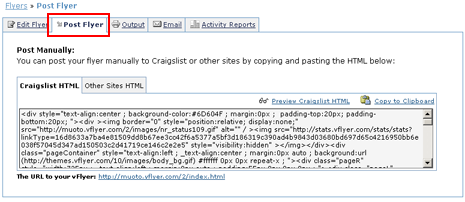
You can preview what the HTML will look like once posted by simply clicking on the
Preview link. You can also copy the HTML directly to your clipboard using the
Copy to Clipboard link.
You will also notice there is a
URL to your vFlyer link below the HTML code field. This URL points to the standalone version of your flyer that both the automatically submitted flyers all point visitors to. Anyone who finds your flyer on classified ad marketplaces that your flyer was submitted to will return to this URL. You can visit the URL by simply clicking on it.
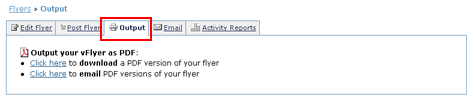
Accessing a PDF version of your Flyer
A PDF version of your vflyer is automatically generated each time you publish or re-publish a flyer. To access this PDF version you most first be in
Edit mode. Click on the
Output inner tab to access or email the PDF version of your flyer.
Emailing your flyer
You can email your flyer, a link to it or the PDF version of your flyer by clicking the
Email inner tab while in
Edit mode. Simply enter the email address you wish to forward the flyer to. You can click on the
Import Contacts link to import email addresses from such popular services and products as Yahoo, Hotmail, MSN, GMail, AOL and Microsoft Outlook or Outlook Express.
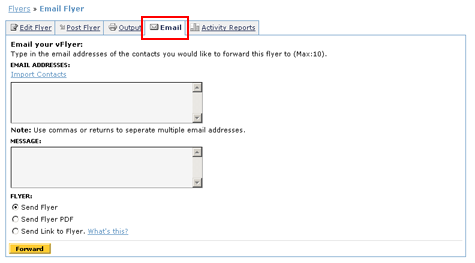
Once you have entered the email address, enter a message and select how you would like to send your flyer. Click the
Forward button at the bottom of the page to send out the emails.
Viewing Flyer Activity
When visitors see or come to your flyer, traffic information collected by vFlyer is accessible from the
Activity Reports inner Tab in the
Edit mode.
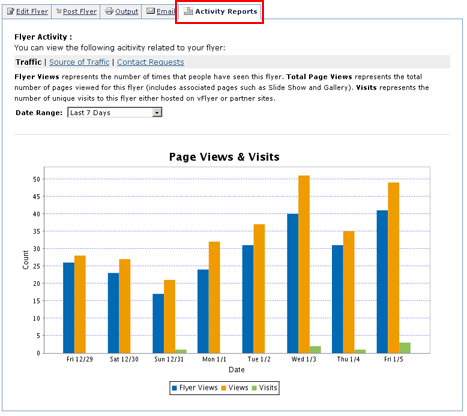
Once in the Activity Reports section you can choose to view the
Traffic, the
Source of Traffic or the
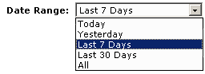
Contact Requests associated with the current flyer. You can also select a
Date Range form the drop down menu.
SETTING UP YOUR ACCOUNT
You can access your account profile and settings from the
Account tab.
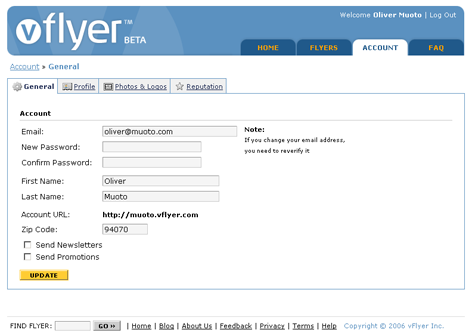
The
General inner tab of the account screen lets you update your name, email address, password, and other account preferences.
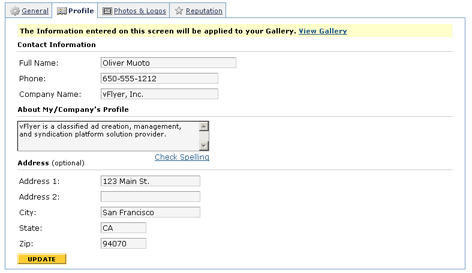
The
Profile inner tab allows you to manage the information that is displayed in our flyer gallery including your name, company name and contact information.
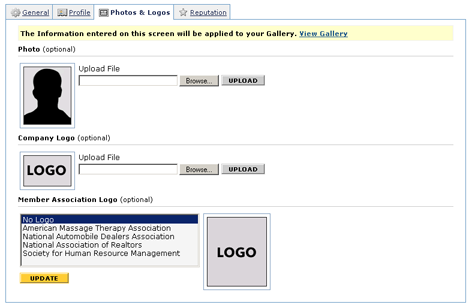
The
Photo & Logos inner tab allows you to upload your photograph, company logo and enter any information about associations you may be a member of.
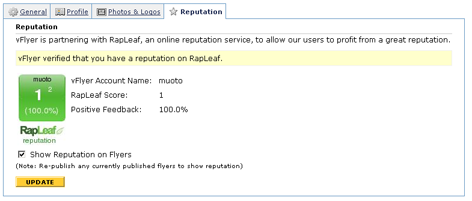
The
Reputation inner tab allows you to use the
RapLeaf service to optionally maintain and display your reputation information on your flyers.